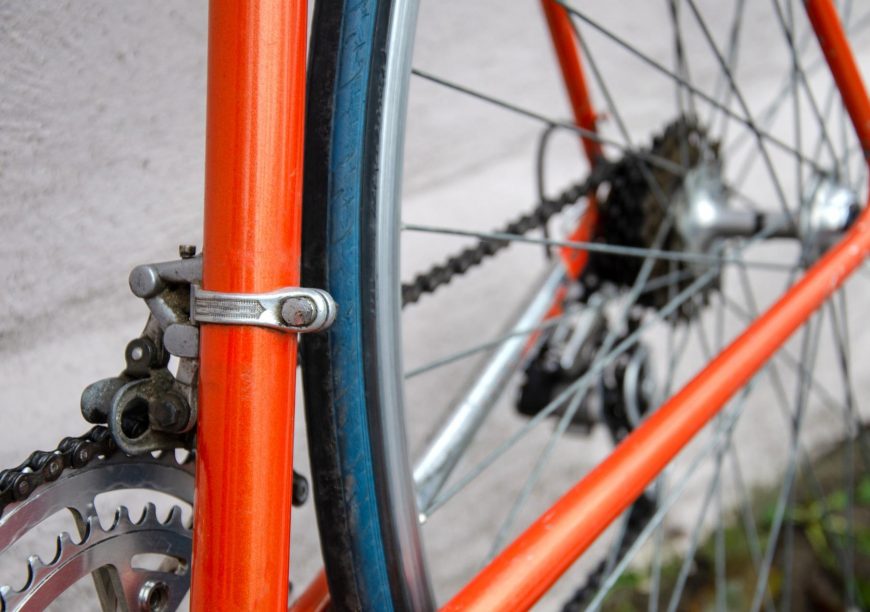
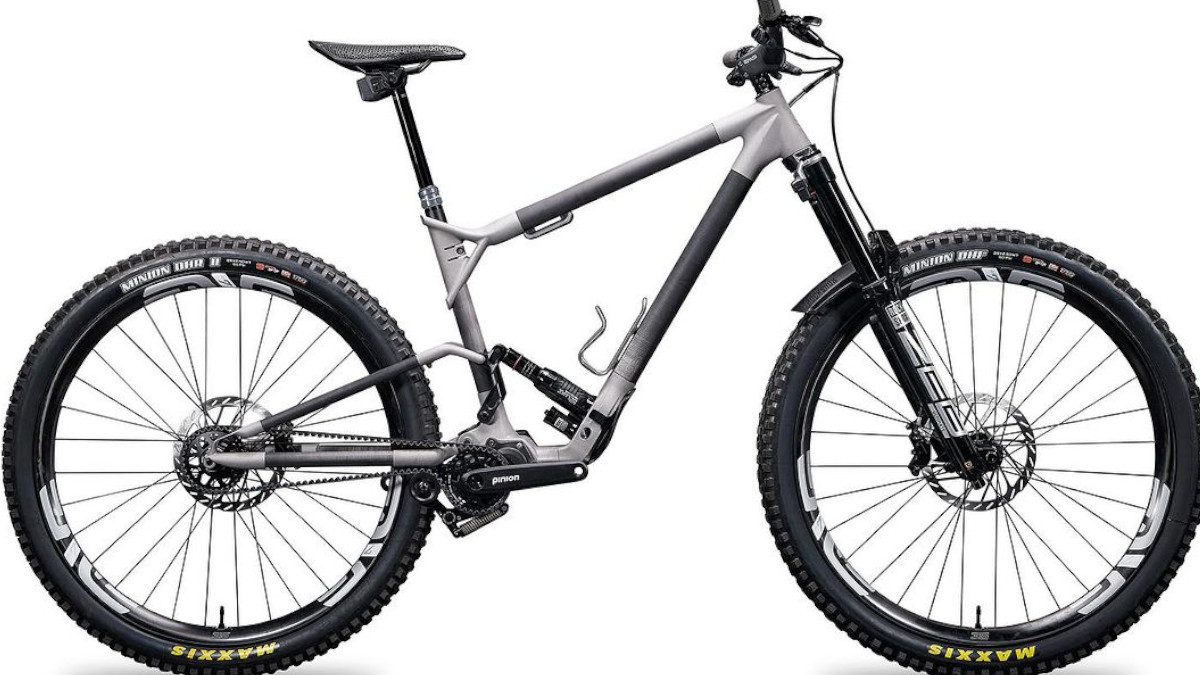
A front derailleur mechanism helps your bike shift chains. Or you can say change the gear. You’ll find it on bikes that have more than one chainring. Yes, there are a lot of models of front derailleurs but they all have the same function and design.
You know what! You will be able to ride your bike without a front derailleur but you will not be able to shift gears in the front wheel. You can find your bike’s front derailleur on the seat tube of your bike.
However, if you have a mountain bike and are facing issues while shifting the chain, it is time to adjust your front derailleur.
Adjusting The Front Derailleur On A Mountain Bike- Easy Steps
The right tools and equipment make all the difference. Here is a checklist:
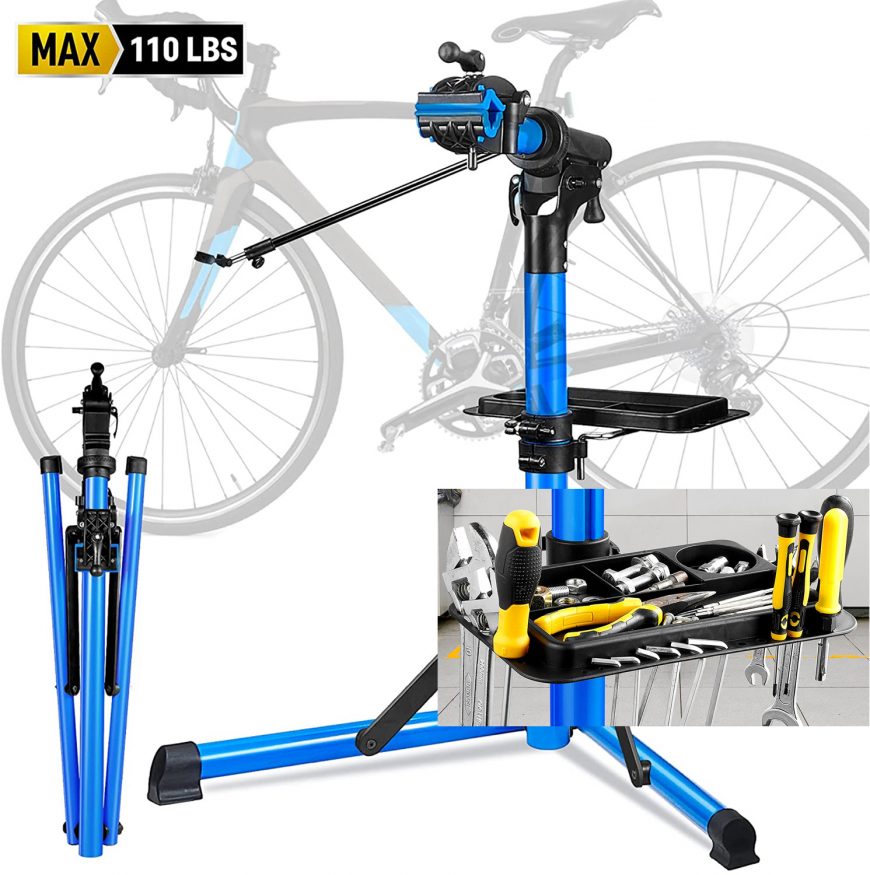
- A Bike Stand
- Hex Wrenches
- Cable Housing Cutter
- Pliers
- Lubricant
Let’s break down the steps to adjusting your front derailleur.
Step 1: Prepare The Bike
Put your bike on a bike stand. This will make things much easier for you to manage. Before you begin adjusting, take into account the range of gears that you have in the back. It might be anything between 5-12 gears.
Shift The Rear And Front Derailleur
Now shift your rear derailleur to the smallest cog on your bike. This will help in reducing the tension on the chain and make it easier for you to make adjustments. Now also shift your front derailleur onto the smallest chainring.
Check For Cable Tension
You might also want to check for any cable tension. You can do this by pulling the derailleur cable gently. The cable should not be overly tight or loose. If you feel that the cable is overly loose, you can use the pliers to fix it.
Adjust The Limit Screws
Check your limit screws to make sure that they don’t need any adjustment. What you should be looking for is that the high-limit screws limit the chain to shifting to the largest ring. While the low-limit screws prevent the lowest chainring shifting.
Inspecting Your Chain And Chain Ring
Look for any damage or wear and tear. The problem might be in your chain too. A worn-out chain is difficult to shift. If you inspect any damage, it is time to get a new chain/chain ring.
Make sure your bike chain is the right length with our guide. Follow our step-by-step instructions to learn how.
Step Two: Derailleur Alignment
Once your bike is all set, it is time for the alignment of the derailleur.
Inspecting The Two Variables
This process will start with the inspection of two variables of a derailleur mounting. Number one is the cage height over the chain and the other is the cage rotation relative to the chainrings. You should check the height with the lower edge of the outer cage directly on top of your largest ring. Pull the cable of yours to line up these two.
If you have to adjust the height, also look at the cage rotation. It is most probable that both will need to be adjusted. This way, you can save some time.
Adjusting The Cage
The closest distance between the bike’s teeth and the added front derailleur cage should not be above 3 mm. If your cage is too high, the chain can fall off of the largest ring when you shift. On the other hand, if the cage is too low, the chain will rub against the teeth. It can also start rubbing against the next ring.
Adjusting The Height
If your cage height is more than the said limit, you will need to adjust it. Relieve your inner wire tension by shifting to the lowest gear. Now loosen the clamp bolt and shift your derailleur downwards or upwards as needed. Once you have the prime location, tighten your bolt again. Now check your cage height again.
Adjusting The Rotation
Began by shifting your chain to the outer front chain ring and the outermost rear sprocket. An example of a good rotation is when the front derailleur and the chain ring are parallel.
If your derailleur needs to be rotated, make sure to shift to the inner chainring. This will release the tension on the bike’s inner wire. Loosen the clamp bolt and rotate the derailleur to bring it to the right position. If your cage end is outwards, slightly rotate the derailleur body clockwise. If it is too inwards, rotate the body counterclockwise.
After you are done, Shift your chain back to the outer ring. Closely observe your alignment.
Knowing Your Mounting Systems
Manufacturers use different kinds of mounting systems. A clamp-style derailleur will allow you to adjust both the height and rotation adjustment. Most mountain bikes usually have a clamp-style mounting bolt for the front derailleur. The braze-on style is usually found on road bikes. This system will also allow you to adjust the rotation along with the height.
A high direct mount system only supports limited adjustments of heights. Whereas the E2 system lacks a rotation adjustment system it does offer you a height adjustment option.
Step Three: L-Limit Screw Adjustment
After you have adjusted your height and rotation, let’s move on to the L-Limit screw adjustment. The low gear limit screw is there to stop the derailleur from going too far outwards or inwards. When you are adjusting your limit screws, look at the cage and the chain.
The idea is to adjust them in such a way that the gap between your cage and chain is minimal. We have to adjust them to the smallest possible distance with smooth shifting. But keep in mind that you have to do this while avoiding a chain rub.
If you’re struggling to pedal your bike, check out our guide to learn how to fix it.
Adjust The L-Screw
Let’s start by adjusting the L-Screw. You will have to shift the front derailleur to the smallest ring. If the limit screws are not marked, you can pick one and turn it along with watching the cage. The L screw will stir up some cage motion.
Now shift the rear derailleur to the largest rear sprocket. Once the rear derailleur starts shifting, you will notice that the chain and the inner cage gap will start getting smaller.
Check The Shifting Cable
A tight cable will create a false inner limit. If the cable is tight, turn the barrel adjuster clockwise. Adjust it to one or two revolutions to loosen it. Don’t worry, after we are done, we will bring the cable back to where it needs to be.
Spin The Crank
Slowly spin the crank while looking from above. Tighten your L-screw to reduce the gap. Do this until the chain is rubbing against your bike cage. Once achieved, loosen the L-screw slowly. Loosen it until the chain is no longer rubbing against your bike.
Test The L Limit
By this point, we have to test the L limit. If you first turn your barrel adjuster clockwise, turn it back counterclockwise. Shift outward one ring. Shift back to the smallest ring. If the chain is shifting back to the smallest ring sufficiently fast, you have successfully adjusted the L screw!
Our only concern right now is how fast it is shifting inwards, we are not taking into account how it shifts outwards. If the shifting is taking time, turn your L screw out one quarter and try shifting again.
What we are trying to achieve is the smallest chain-to-cage gap along with having a good shifting. A large gap will increase the chances of a chain drop while shifting.
Learn how to shift gears on your bike like a pro with our easy-to-follow guide.
Step Four: H-Limit Screw Adjustment
The setting for the H-Limit screw is similar to the concept of setting an L-limit screw. The difference is that here we are looking to reduce the gap between the outward cage and chain. Here a large gap means that the chain will fall off the largest ring during a shift.
It can be confusing to adust a high-gear limit screw. This is because the spring in your derailleur body will constantly pull the derailleur inward. To test the outer limit screw adjustment, use your shift levers to constantly apply pressure outwards.
Shift The Chain
Start by shifting the chain to the smallest rear cog. Note that doing this will also move the chain outwards on the front end. You will have to shift to the largest front chain ring. If the chain is not shifting, the cable will be extremely loose. Turn your barrel adjuster counterclockwise and try shifting again.
Return the shifter towards an inward position. You can pedal to get the chain to the smallest ring. This must match the shift-lever position with the position of the derailleur. Shorten the cable at the pinch bolt.
Possibility: Your barrel adjuster may unthread completely!
If the chain does not shift to the largest cog after you have loosened the barrel, it might be because the H limit screw is too tight. Turn the screw counterclockwise. Give it a few turns.
Adjusting The H-Limit Screw
Once you are on the largest ring, loosen the H-Limit screw. This is done intentionally. Put extra pressure on your shifter. There should be a gap between your chain ring and the cage which indicates that the H-Limit screw is too loose.
Now you will tighten the H-Limit screw to reduce this gap. Begin doing this by reducing the pressure on the shifter. Tight the H-screw only up to a quarter turn.
Now apply pressure on the shifter again and check the gap. Repeat this process until you can limit the gap to only 1mm.
Testing The H-Limit Screw
Turn the crank to ensure that the chain does not rub. Also constantly apply pressure to the shifter. Shift to the smallest next ring and then back outwards. This is done to test the H-Limit screw. Do this while pressing fully on your shifter so that you can invigorate a good cable setting.
When you push on the level, the cable set is isolated from the limit setting. If the derailleur is unable to make the shift or the shifting is slow, the limit is overtight. Again, loosen only up to a one-quarter turn and then try shifting again.
On the other hand, if the chain shifts to the largest ring or nearly goes over it, the limit is too loose. In this case, tighten only up to a one-quarter turn and try again.
Step Five: Indexing Adjustment
Index shifting is done to place the cage in a correct position with relevance to the chainrings. This is achieved by adjusting the bike’s barrel adjuster. Now some levers have up to two or three positions while others have multiple clicks. Irrespective, the process will be the same.
If you have an index shifter but no barrel adjuster, you can adjust by adjusting the length of your cable at the pinch bolt. Shorten or lengthen the cable.
Shift The Chain
The chain has to be on the smallest rear cog. Now shift to the largest front chainring. To find the correct cable setting, you will have to introduce movement at the cage, and then remove it systematically. The movement at the cage will tell us whether the linkage is contacting the H-Limit screw or not. When the movement is completely gone, the cable set will be right.
Adjust The Barrel Adjuster
Push on the lever, if you notice that there is no movement at the cage, lengthen your cable by adjusting the barrel adjuster clockwise. Now push the lever again. Repeat this process until you notice any movement.
Once the movement is there, turn your barrel adjuster counterclockwise by one-half turn. Test this by pushing on the shift level again. Repeat this process until the cage is not moving outwards and when you push the lever. The indexing adjustment is completed.
Here is a video demonstration of the whole process:
Got no tools? Don’t worry! Read our guide to learn How To Remove Bike Cassette Without Special Tools- Bike Tips And Tricks
4 Problems That Indicate A Faulty Front Derailleur?
Here are some common front derailleur problems that you can face with a wrongly adjusted front derailleur:
1. Noise
When shifting, you might hear a grinding or rubbing noise. This sound is generated when the chain of the bike rubs against a chain ring or a derailleur. In this case, either your chain is worn out or you have a misaligned derailleur.
2. Chain Drop
Your chain can fall off the sprockets when you are shifting or ridding.
3. Problematic Shifting
If your shifting is not smooth and you are facing problems between the chainrings, it can be due to a misaligned derailleur. It can be difficult for you to shift smoothly if your derailleur is not aligned.
If you’re having trouble shifting gears on your bike, check out our guide to learn why your bike won’t shift gears.
4. Chain Not Shifting
If your chain is not shifting down to the smallest chainring or it is not shifting up to the largest one, then probably a misaligned derailleur is your culprit. But it can also be due to an issue with your cable tension.
Keep your bike running smoothly by tightening your chain. Follow our step-by-step guide to learn how to tighten your bike chain.
Adjusting A Front Derailleur On Mountain Bike- Is It Necessary?
The answer to this depends on the kind of riding experience you want to experience. If you are looking for just the wheels to roll on your bike, you are good to go without adjusting your front derailleur. But if you want to enjoy your bicycling trip the most, then you know what you have to do!
It is a necessity for mountain bicycling enthusiasts because it makes sure that the chain is moving smoothly in between the chainrings. Your chain will not rub against the derailleur. It will also not get caught up between the chainrings. In short, you will not have to get off your bike to fix things now and then. Instead, you can enjoy an uninterrupted trip on your bike.
A smooth-shifting will also ensure that you maintain a constant pedaling rhythm. This way you can improve your riding performance on steep terrains. On the other hand, a misadjusted front derailleur will not deprive you of these experiences but will also cause wear and tear to your chain and chainrings. It may also affect your other bike components which can be a problem.
Don’t let a broken spoke ruin your ride. Follow our guide to learn how to fix broken bike spokes.
FAQs
Why Is My Front Derailleur Not Shifting Properly?
Your front derailleur might not be shifting properly due to various reasons such as damaged components, chain tension, limit screw adjustment, and derailleur alignment.
What Should I Do If My Chain Drops While Shifting?
If your chain drops while shifting, it may be because of a misaligned derailleur. Inspect your bike derailleur alignment. Also, look at your cable tension. If you see any damaged parts, you must replace them to make your chain shift smoothly.
Conclusion
A properly adjusted front derailleur is not a want, it’s a need. If you are doing it for the first time, I highly suggest getting it done at a bike shop first. Closely observe your front derailleur cage to know what you are looking for.
Now that you know how to adjust the front derailleur on a mountain bike, are you going to try it at home? Let me know in the comments below! Happy Adjusting!
Also Read
- Cantilever Brakes Vs V Brakes: Which One Is Better For Your Bike
- 6 Reasons Why Bicycle Chains Break And How To Prevent Them
- How To Ship A Bike? Bike Tips And Tricks
Should you have any questions or require further clarification on the topic, please feel free to connect with our expert author Luke Ameen by leaving a comment below. We value your engagement and are here to assist you.


