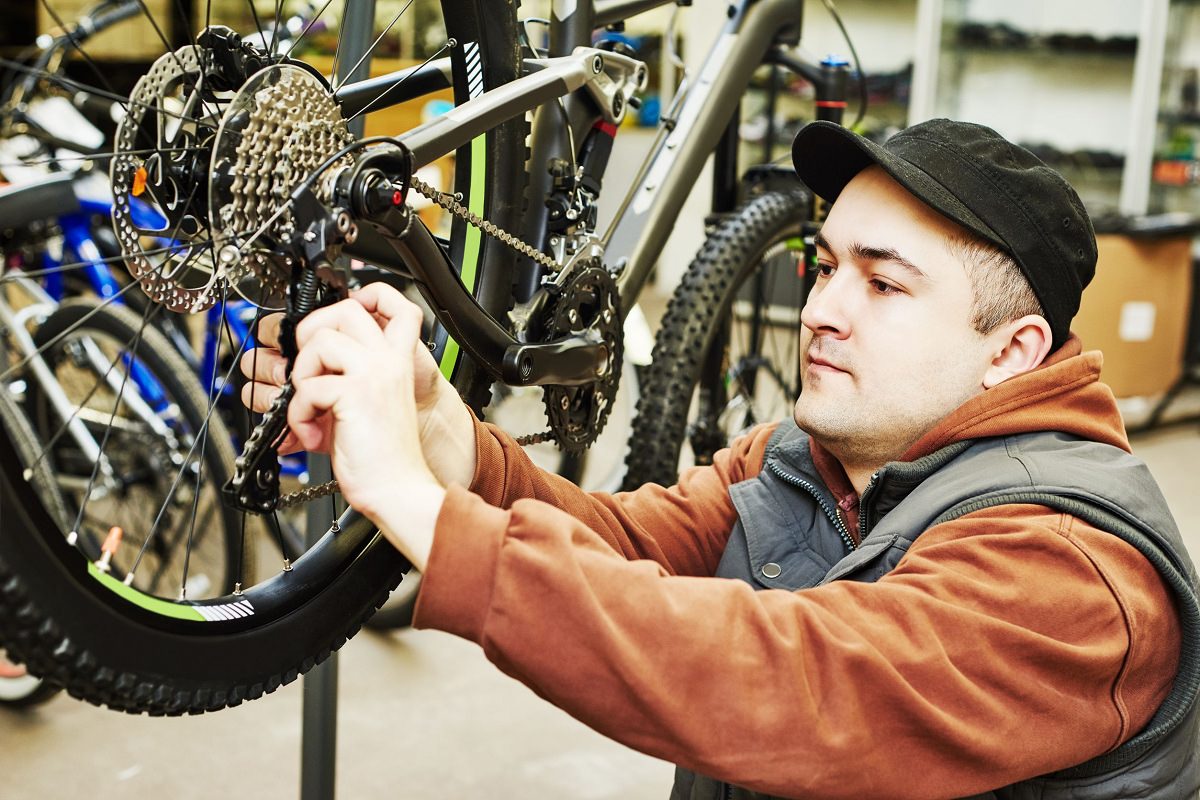
If you have read any of my other articles you would know I am pretty adamant about bikes being a utilitarian machine. The reason I say that so much and why I believe is because I believe anyone is capable of maintaining their own bicycles and I am going to give you a few tips and resources to get started.
Basic Bike Maintenance Tips
Tip 1- Fixing Flat Tire, Tube, Damaged Tire Replacement Or Installing A New Tire
Tools you will need: tire levers and a bike pump
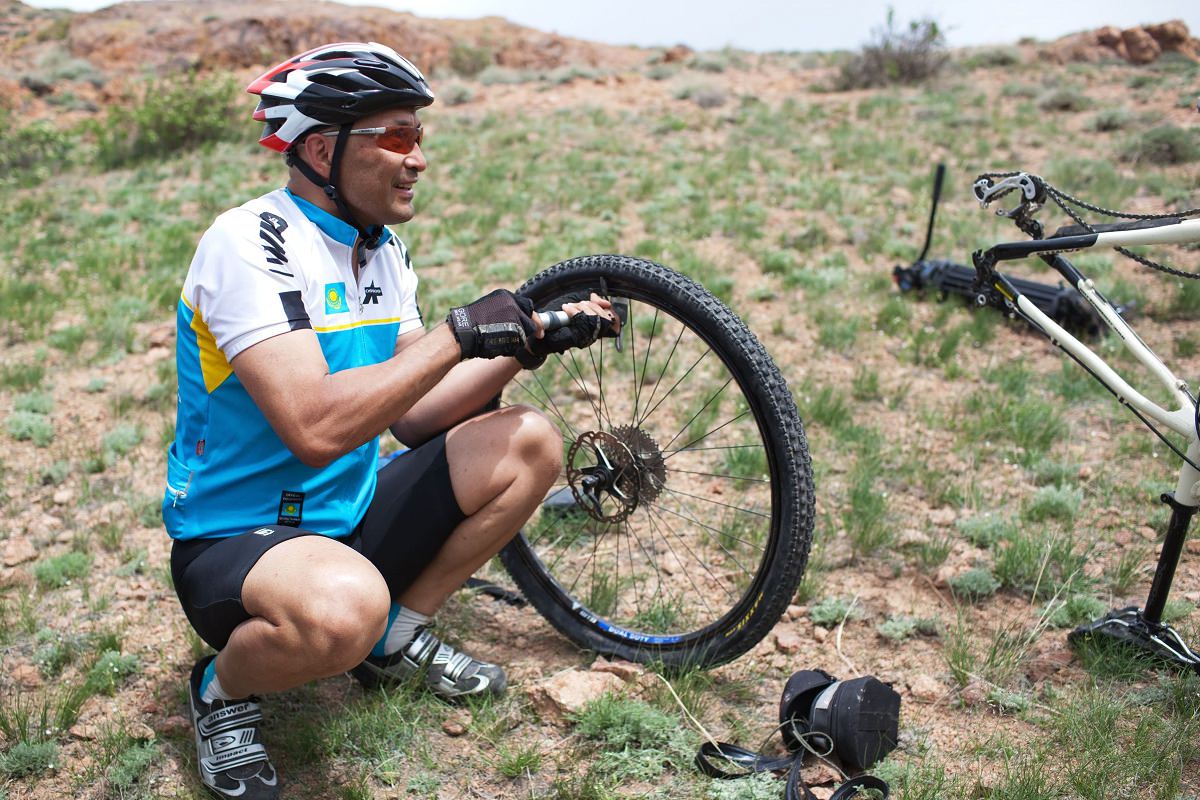
Tires and tubes are the most commonly replaced item on your bike because of the material they are made out of and how much they get used. Make sure the wheel is off of your bike before you begin. To remove your tire, first deflate it by unscrewing the top if you have presta valve and pressing down on the valve head itself. If you have a Schrader valve there is a small metal pin inside the valve stem that you should press for the same effect. Once the tube is flat you should the sides of the tire come unstuck from the bead in the rim.
Step 1. Removing the Tire
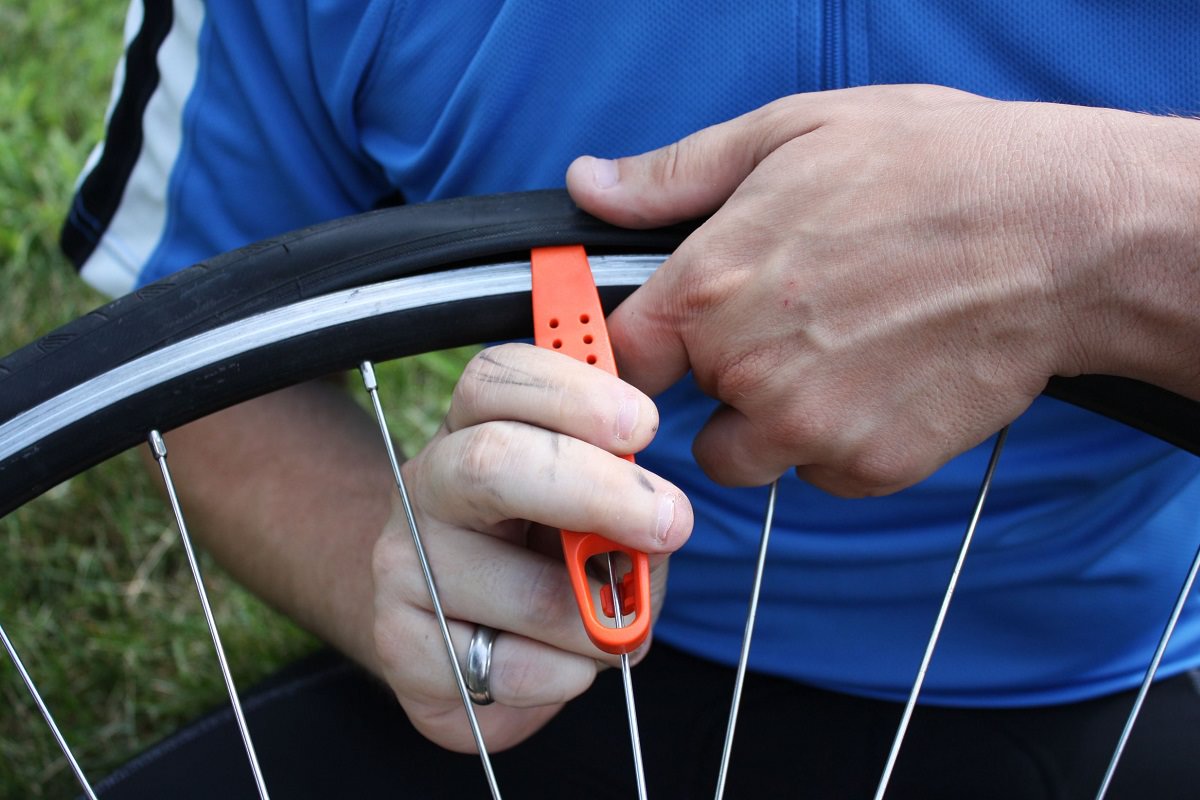
If the bead does not come unstuck, position your thumbs parallel up against the tire and your other fingers on the opposite side perpendicular to the tire. Now work the bead of the tire into the center ditch in the rim. With space now in between the tire and the rim use your lever by positioning it under the bead of tire, leveraging it against the rim to pull that first part of the bead outside the rim of the tire.
Tough tires may require two levers working in tandem, one after the other to work that first side of the bead all the way off. Some tires fit looser and you can just slide the lever along the rim pulling the bead over the rim as you go. Once one side of the bead is removed it is time to remove the tube.
Unscrew the valve nut if there is one and push the valve stem up through the rim, then continue by removing the tube from inside the tire puling it out completely. Next, get the other side of tire’s bead out by using the same process on the same side of the rim we removed the bead from the first time.
Once the tire is off you have many different options to choose from. If you are replacing the tire go ahead and get your next tire lined up. If the old tire is still good I would keep it in case you need a quick replacement in the future. If you are keeping the tire, rub your thumbs along the inside surface of the tire looking for punctures or sharp objects that could cause damage to your tube. Once you have determined that tire is in good condition it is time to check the rim for any problems as well.
Step 2. Checking For Punctures
Run your thumbs along the ditch of the rim check for any sharp objects and any damage done to the rim tape. There often isn’t any problem here but sometimes there is and the rim tape needs to be replaced also. Now take the first bead of your tire and work it up onto the rim. Make sure you pay attention to any directional markings on the tire so your tread faces the right direction. The first side should be easy to be hand using your fingers and thumbs in the same rocking motion I mentioned before.
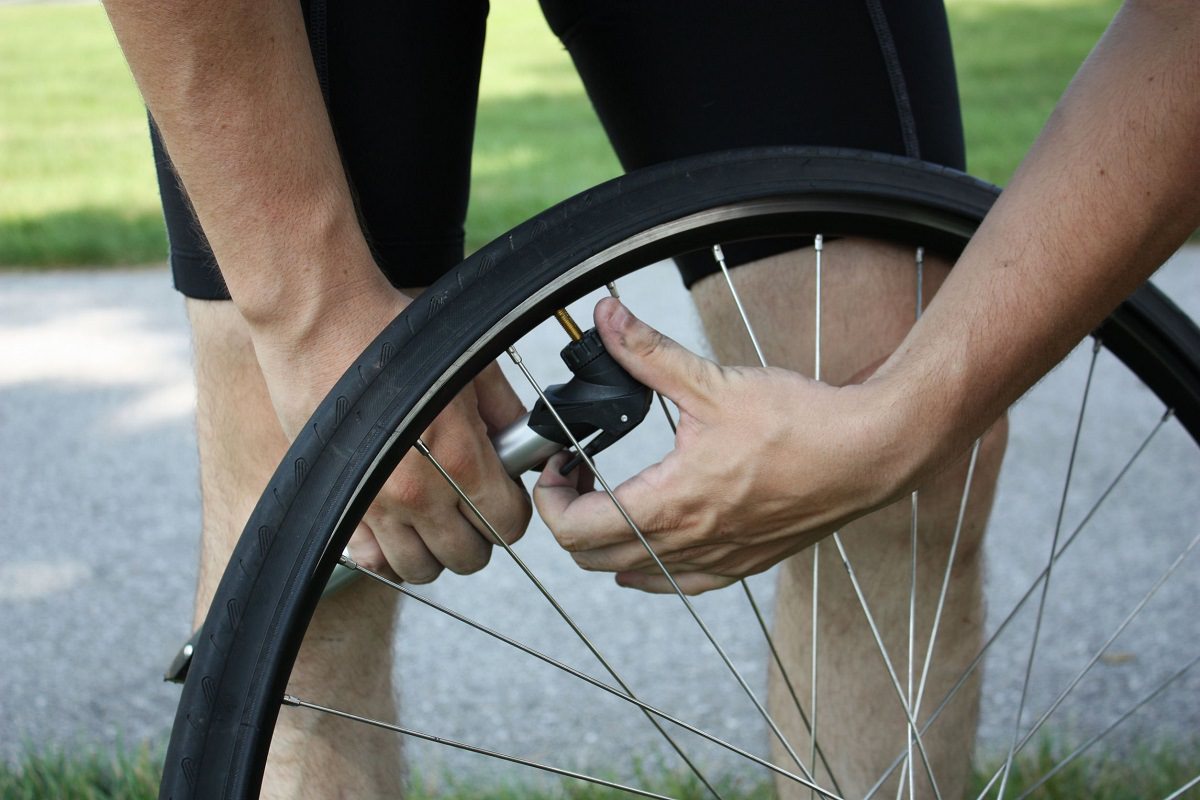
Once one side of the bead is on, get your new tube and inflate it using the pump just a little to give it a shape. Match up the tire brand and logo with the valve stem and the valve hole. Put the valve stem through the valve hole and work the rest of the tube into the tire. Once it is properly seated, work the remaining tire bead back over the rim using the motion I described before. It will be getting tighter and tighter as you near the end and may be difficult to do with your hands. If you must use a tire lever be extremely careful as not to pinch the new tube between the lever and the rim.
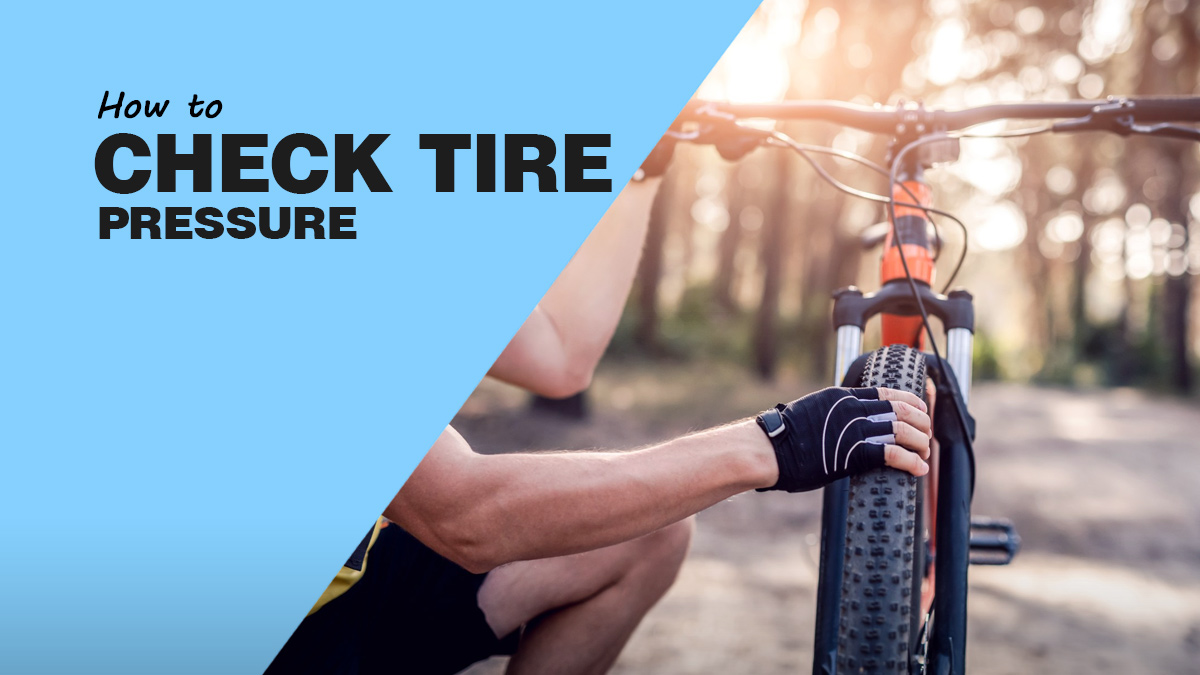
Once the tire is properly seated on the rim and no parts of the tube are stuck between the rim and tire, inflate the tube to the desired pressure. You can find the min and max printed on the side of your tire. Your optimum pressure may be somewhere in that range based on your weight and the type of terrain you are riding.
Tip 2 – Fixing Seasonal Drive Train Wear
Tools you will need: Bucket of soap and water, mini scrub brush, dry rag, chain lube
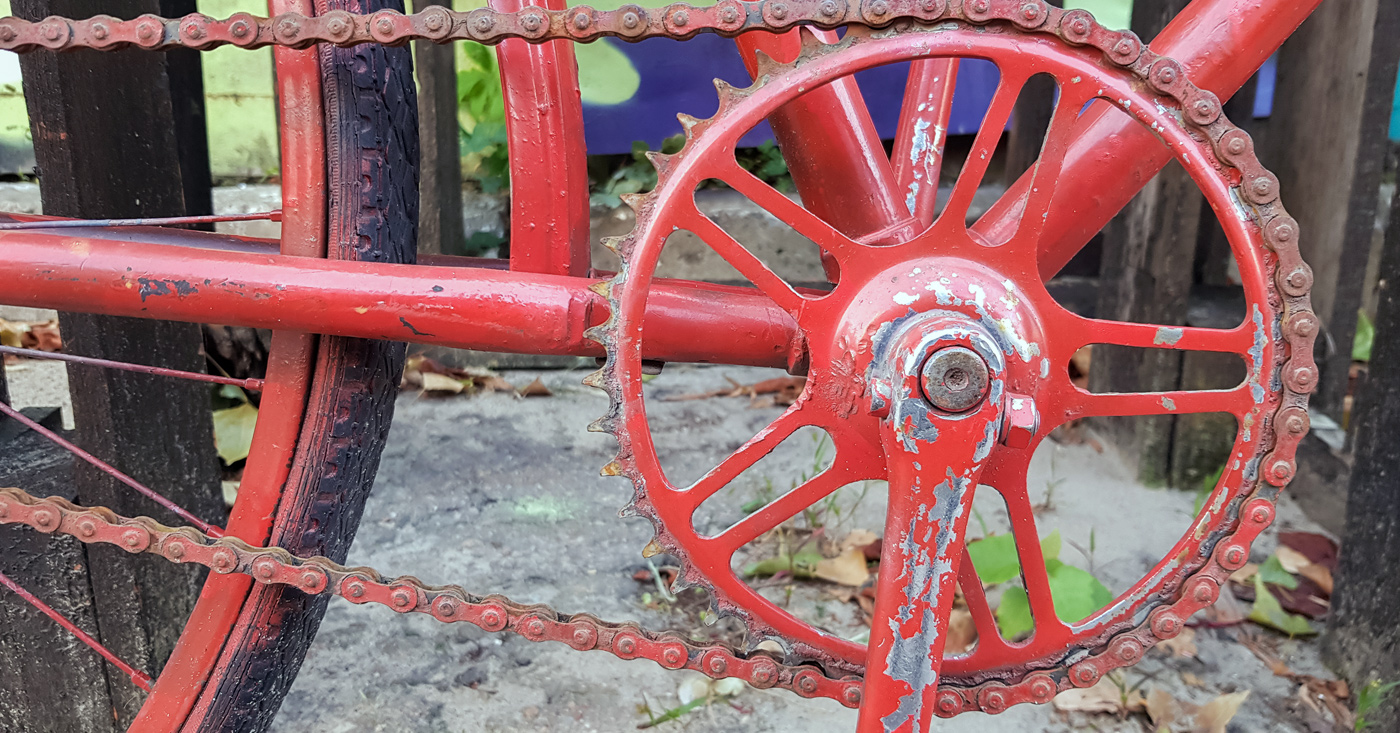
It is important to keep your drive train clean and lubed. If you do not take care of your drive train parts can begin to wear out and cause much more damage and cost much more to replace than just doing some regular maintenance.
To begin, fill a bucket with a gallon (2.5 liters) or so of water and a tablespoon of dish soap. I am sure you can use other types of soap but this always works for me. Slosh the mixture around and make sure the soap is evenly dispersed. Put your bike up in a stand or if you don’t have one just lean it up against a wall with the drive train facing out. Dip your brush in the water and begin scrubbing all the parts of the drive train.
Cleaning The Components
This includes the crankset, chain, jockey wheel on your rear derailleur and your cassette or freewheel. It doesn’t have to be sparkling but the cleaner the better. Sometimes I like to turn the cranks and just hold to brush in place over the cassette or chain. This guarantees that each part gets the same amount of cleaning. Once you are satisfied with your drive train take a hose or different bucket of water and rinse it down, getting all of the soapy residue off. All of the water will evaporate and your drive train will be as good as new.
Re-Lube The Chain
To re-lube the chain pick a spot on the chain and stick the nozzle of the chain lube bottle and hold it. I usually do it right on top of the chain back by the cassette but not over the cassette. I do it there just because it is easy to reach. Now, turn the cranks while applying a steady bead of lube to the chain. Do this for about 3 revolutions. Now take a dry rag and pinch the chain in a place that is safe for you to hold while you turn the cranks. Let the chain slide the rag getting any excess lube off while you turn the cranks. That is all there is to it.
Tip 3 – Fixing Worn Brake Pads or Brake Pad Replacements
Tools you will need: Appropriate allen or hex keys, fourth hand tool (not critical)
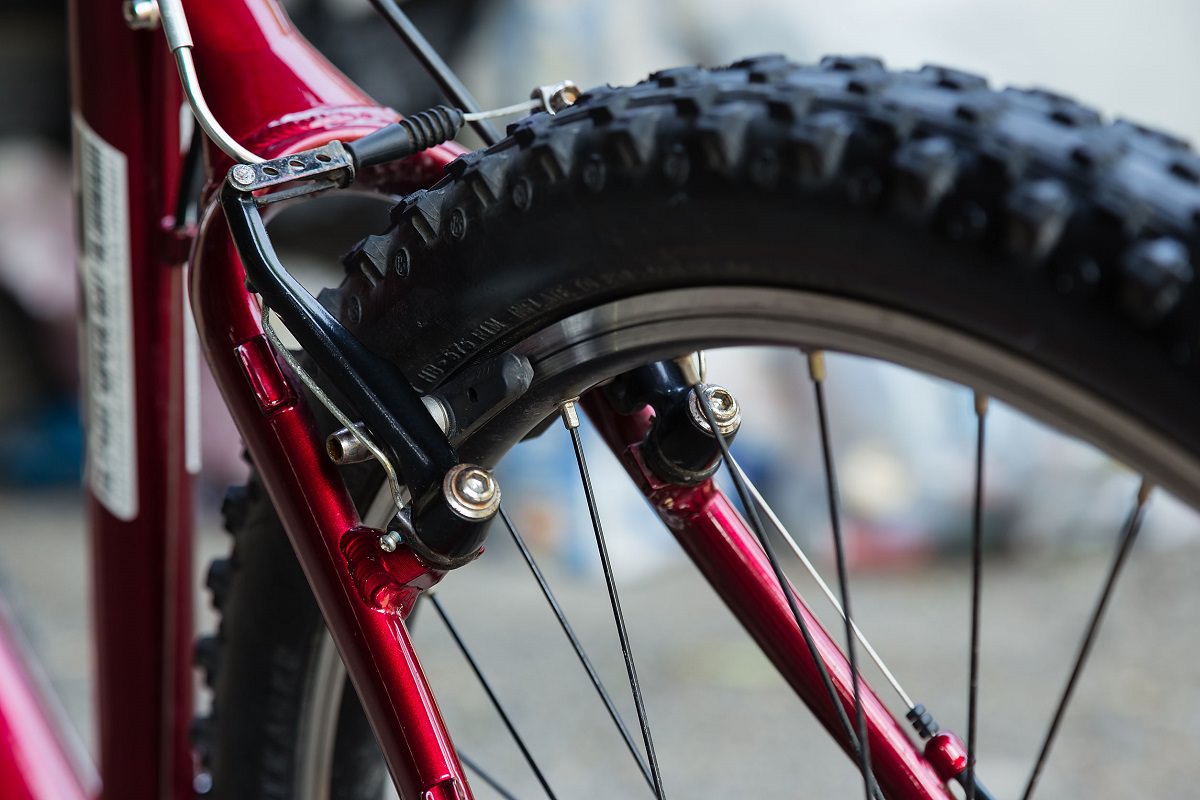
If your bike has any type of rim brake (caliper, v brake, or cantilever) then this repair is for you. Sometimes pads get worn and you need to replace them or adjust the pull to account for pad wear. Follow these steps to adjust your brakes.
First you want to release the tension of the brake cable. Most brakes will have a way you can release the tension without fully releasing the cable. For caliper brakes there should be a lever you can pull up on the drive side of the brake. For v brakes just remove the noodle from its slot, and for cantilever brakes one end of the cable will have a cable end that you remove from its slot.
Replacing Brake Pads
Once you have access to your brake pads, begin by removing them using the appropriate hex key. Most pads are tightened into place using a 5mm bolt and additional angling washers. Remove everything but be sure to remember what order the mounting and angling washers went in. With the pads visible check for wear or any major damage. You will see little bits of aluminum embedded in the pads. This is completely normal and helps give the bike more stopping power as the pads wear.
To replace caliper or road pads you would just tighten the new ones into place on that caliper break arm. It is very important that you follow the arrows imprinted on the pad so that the brake pad faces the right way. Sometimes you can just replace the pad and sometimes the whole pad mount needs to go too.
Brake Lever Pull and Pad Placement
Now, to get the right pull and pad/surface interaction follow these steps. First, tighten the pads into place so they don’t move around too much, but make sure they are loose enough to make slight adjustments. Now, using one hand, clamp down the caliper arms so that the brake pads touch the braking surface on the rim. Align the pads so they are at the center of the braking surface and so they press evenly all throughout the pad.
For cantilever and v brakes you need to tow in the brake pads. This means that you want the front of the pad to press the surface just slightly before the back. This will eliminate brake squeal and improve the brake’s effectiveness. Once you have this adjustment just right, tighten down the new pads to the brake arms. Now it is time to adjust the pull.
Read More Bike Maintenance Tips:
- How To Tune Up A Bike
- How to Remove Rust From Bike
- How To Tighten A Bike Chain
- How To Tighten Bike Brakes
First reconnect the brake where you disconnected it before. For the caliper brake push the release lever back down, and for the others reconnect the noodle and cable end into the slot. Once you have the pad position set and the brake reconnected, pull the cable through the tightening screw until you have the desired pull from your lever. I like it when I barely have to pull to for the pads to engage. When I was in bike mechanic school though, I got varying ideas of how much pull people like. You can use the barrel adjusters to make minor adjustments.
Where Can You Borrow Tools From
To begin, there are so many places you can borrow tools if you don’t feel like investing in your own toolbox or work space. Co ops will often have monthly or yearly memberships for $20 and you can come in and use their tools and space whenever they are open. If you can’t afford to be a member you can volunteer your time and help other people and learn while you are at it. This is a great to get hands on experience that is transferable to so many different types of bikes out there.
Try Tool Libraries
Tool Libraries are another place where you can pay a small amount or volunteer time to rent tools and take them home. The SE Portland Tool Library close to my house only charges overage fees if you keep the tools out longer than your rental period. There are amazing resources in your neighborhood too if you just look around.
Bike Shops That Offer Free Tools
Look for bike shops that put free tools and stands out. Often there won’t be enough for the major repairs but plenty to get you through some small maintenance and back on the road. If none of these options work for you, maybe investing in some tools or partnering up with some friends is the best option you have. You don’t need much and you don’t need to spend much acquiring tools. I have been collecting tools that I need over the years just to make home repairs a little easier and not bear the brunt of the cost all at once.
FAQs
What should I do to service my bike?
Clean your bike to remove any dirt and then check the tire pressure. Examine all the parts to see any wear and tear, lubricate your bike chain, inspect your gears (if you have any) and make sure all the bolts are rightly secured.
What is the first service of a bike?
The first service of a bicycle should be after 100-300 miles (160-480 kilometers). Check all the components of the bicycle especially the brake pads.
What are 3 important components of a bike safety checklist?
Make sure that the braking system is working. Check your tire pressure, look for any punctures. Also check your lights and reflectors.
Conclusion
So these are some simple repairs you can do with basic tools. There are other repairs you can do with tools that are relatively cheap. Remember to use the multitude of resources you have both for tools and for new knowledge. The internet has most things you would need to fix your bike. Don’t be discouraged if you can’t do the repair just right, try again and you will get better each time.
Should you have any questions or require further clarification on the topic, please feel free to connect with our expert author Ryan Ross by leaving a comment below. We value your engagement and are here to assist you.


