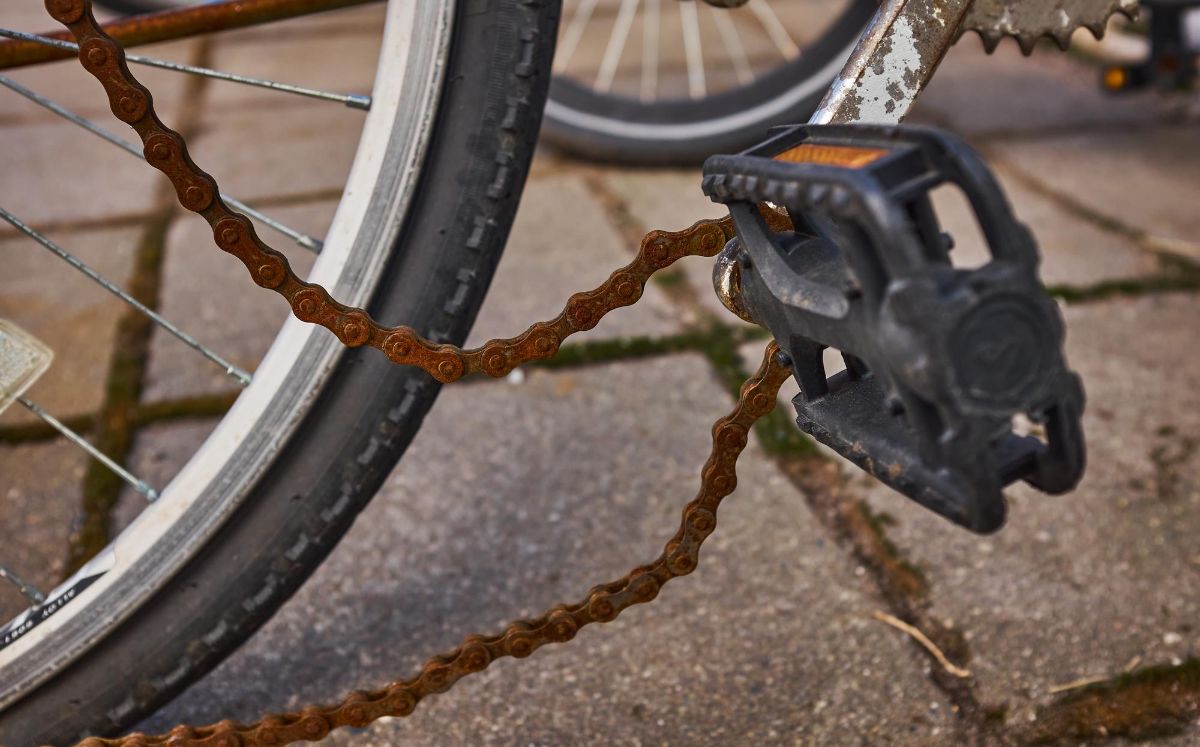
When it comes to bikes, chains are the main driving force. That’s why they see more wear and tear. And when you neglect it, the chain starts degrading. It starts stretching. A stretched chain will affect your ability to shift. Now it can even snap! To avoid this, you’ll have to replace a stretched chain. That’s why it is important to know how to determine your chain length.
The exact measurement of a brand-new chain is about 12 inches across 12 links (Good chain length). The correct length will get you the correct chain for your bike and there won’t be any room for errors. You can always try out a chain length calculator but why always depend on them? Sometimes there will be chains with extra length or half chains to deal with, these methods will help you sort all of them out!
How To Determine Bike Chain Length
Bike chains are mainly of two types- connection rivet chains and master link chains. Master link chains have two outer chain links that connect to the chain itself whereas the connection rivet chain uses a special rivet for the connection. To begin the process, you’ll need some tools.
What Tools Do You Need?
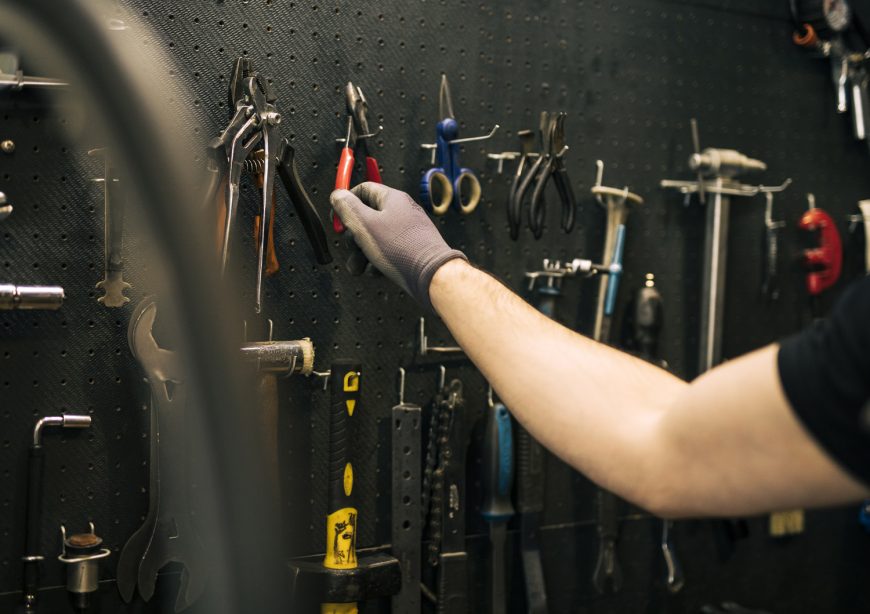
You will mainly need two types of tools to determine the chain length.
- Chain Tool: A chain tool is important for cutting the chain
- Master Link Pliers: This tool helps in removing chains with master links. It does not matter if it is a modern chain or half-chain. It will still come off easily with these.
As there are different chain types, there are different methods to determine the chain length
Method 1: Using The Old Chain
This is one of the easiest ways to determine your bike chain lengths. For all the bike chain sizes you can use the help of your old chain.
- Shift the bike into the small sprockets first and check if there is any slack or not.
- Now the derailleur should also be in a good position. It should not pull back that much.
- In the next step, you have to shift to the largest rear sprocket and front sprocket.
- After this, the chain will be able to make the shift easily and have two slight blends.
- Now that we have figured out the length of the old chain we need to remove it and lay it on a hard surface.
- Check the new chain side by side. The links should be the same.
- If not, the cutting point should be precise. Make sure that the old chain and the new chain match up.
- You can also try getting a universal bike chain, they fit almost all the bikes.
A loose chain can cause a lot of problems while riding. Check out our guide to learn how to tighten your bike chain and avoid any mishaps
Method 2: The Big-Big Method
In this method, we will make sure that the bike’s chain is long enough so that it doesn’t cause any kind of damage to the derailleurs.
- The first step here would be to put the chain around the biggest front chainring, the biggest rear sprocket, and one link just to be sure (one link is mainly a pair of outer and inner plates).
- Remove the derailleur.
- Some bikes have stronger rear wheels. These are bikes with rear suspensions. They have to be compressed if you want to use the big-big method.
- Remember the rear wheel of the bike must be far away from the cranks.
- If you are using air shocks let the air out.
- For springs, you have to remove the shock first, then the spring, and then re-insert the shock.
If you want a simpler approach than this, add an extra pair of inner and outer plates to the total length of the chain. Although this method is very simple it isn’t that accurate and there is a chance that you won’t get the desired results.
Learn about the common reasons why bicycle chains break and how to prevent it from happening to you.
Method 3: The Largest Cog and Largest Chainring Method
This is one of the easiest methods that I have used myself.
Step 1: Shifting The Derailleurs
When you have removed the old chain, shift the derailleur. The front derailleur needs to be shifted to the largest chainring and the rear derailleur needs to be shifted to the smallest chainring.
Keep your bike chain clean and running smoothly with our top picks for the best bike chain degreasers.
Step 2: Wrap The Chain
Now wrap the chain around the largest chainring. Here, you have to make sure that the outer plate is directed toward the front chainring.
Step 3: Pass The Chain
Pass the chain through the derailleur cage. After passing, it needs to go to the largest front chainring.
Step 4: Hold The Chain
Hold the chain at the 5’o 5-clock position.
Step 5: Using The Masterlink Chain
There would be some users that would be using the master link chain, and for that, we have a different methodology. A half-master link chain needs to be installed at the front of the chain.
Step 6: Bypassing The Derailleur
Now pull the chain’s lower section to the front of the chainring. This way the derailleur will be bypassed.
Step 7: Cutting Point
Find the closest rivet which is at the intersection of the chain. When you find the point, cut it. That’s it, that is the cutting point.
Don’t let a broken chain ruin your ride. Follow our guide to fix your bike chain and get back on the road in no time
Method 4: Using The Chain Sizing Equation
You can find out the bike chain lengths by using a formula. The calculation will be limited to only whole-inch increments because you can only join the inner plates to the outer plates when it comes to the chain.
The Formula is as follows:
L= 2(C) +(F/4+R/4+1)
Index:
- L: This is your chain’s length in inches
- C: This is the chainstay. It is the distance between the crank’s middle to the rear axle. You have to measure it to the closest 1/8 first and then convert the answer to decimal form.
- F: This is the front chainring. These are the teeth at the front of the largest chainring. If you are having some confusion then the number is often printed at the cogs and sprockets.
- R: This is the rear cog. These are the teeth at the rear of the largest cog. Again, the number will be printed on the sprockets.
Removing bike pedals can be a tricky task. Check out our guide to learn how to remove your bike pedals with ease.
What Could Go Wrong?
One of the biggest problems that you could face has to do with the rear derailleur when the chain wrap capacity is not enough. This means that if you have a small chainring combination then the chain will be too slack or may even fall off if there are bumpy roads
First of all, we can get a rear derailleur with a longer cage that will be suitable for every kind of situation. If the chain is longer than expected then we can shorten it. Another solution that we can use is to avoid the small sprockets at the cassette.
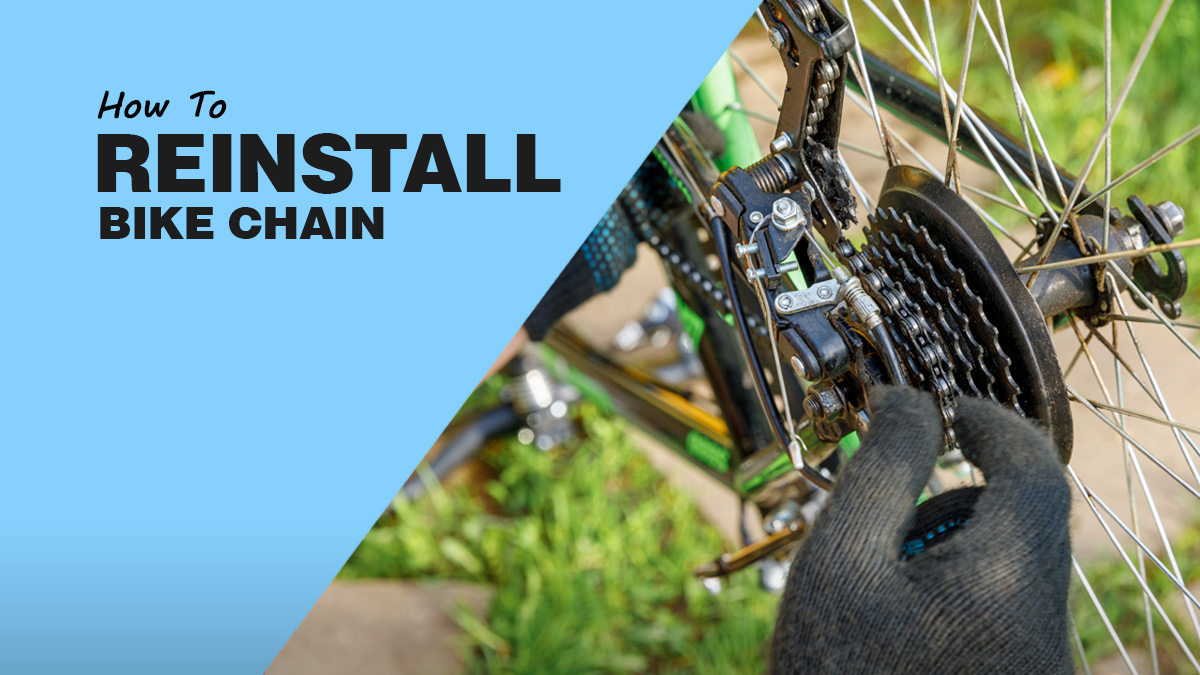
If you’re looking to reinstall your bike chain, check out our step-by-step guide to make the process a breeze.
FAQs
What chain length should I get for my bike?
Most manufacturers have chain guidelines. You can also measure the length of your old chain.
Is it OK to shorten your bike chain?
If it is necessary for the chain to be shortened to fix your bike, you can shorten it.
How many km do bike chains last?
The bike chain lasts around 2,000 to 3,000 km.
Should I oil a new bike chain?
Yes, oiling a new bike chain will help you avoid rust.
How do I know if my chain needs oil?
When your chain is dry, you will hear squeaking noises. Also if there is rust on your chain, this means it needs to be oiled.
Recap
Now, you have two options here. You can either fix your chain or get a new one. I would recommend getting a new chain because your old one might be damaged beyond repair. Determining a chain’s length will help you speed up the process.
I have discussed different methods here. Which one works best for you? Let me know what you think about it in the comments!
Also Read:
- How To Assemble A Bike
- How To Adjust The Front Derailleur On A Mountain Bike
- How To Remove Bike Cassette Without Special Tools
- How To Remove Rust From Bike
- Reasons Why Your Bike Won’t Shift Gears And How To Fix It
Should you have any questions or require further clarification on the topic, please feel free to connect with our expert author Luke Ameen by leaving a comment below. We value your engagement and are here to assist you.


