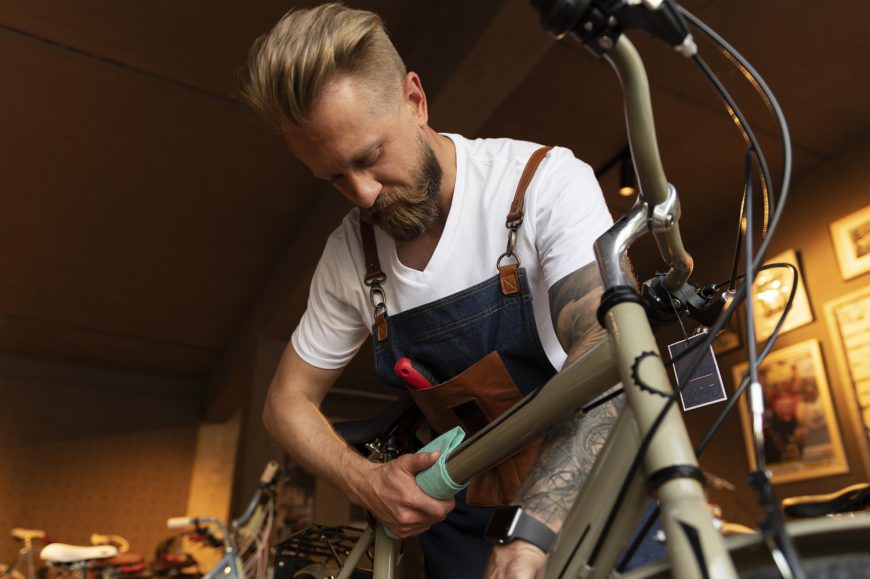
The best way to make sure that you use your bike for a long time along with enjoying your cycling trips is by maintaining the bicycle. Don’t you agree? Regular cleaning and proper tune-ups help protect your bike against wear and tear.
I get my bicycle maintained after 10-20 hours of riding and get tune-ups twice every year. In this guide, I have compiled the best tips and tricks from renowned professional mechanics for getting a tune-up. Want to have a look?
Tips To Tune Up A Bike
Tip 1. Let’s Start With A WorkSpace
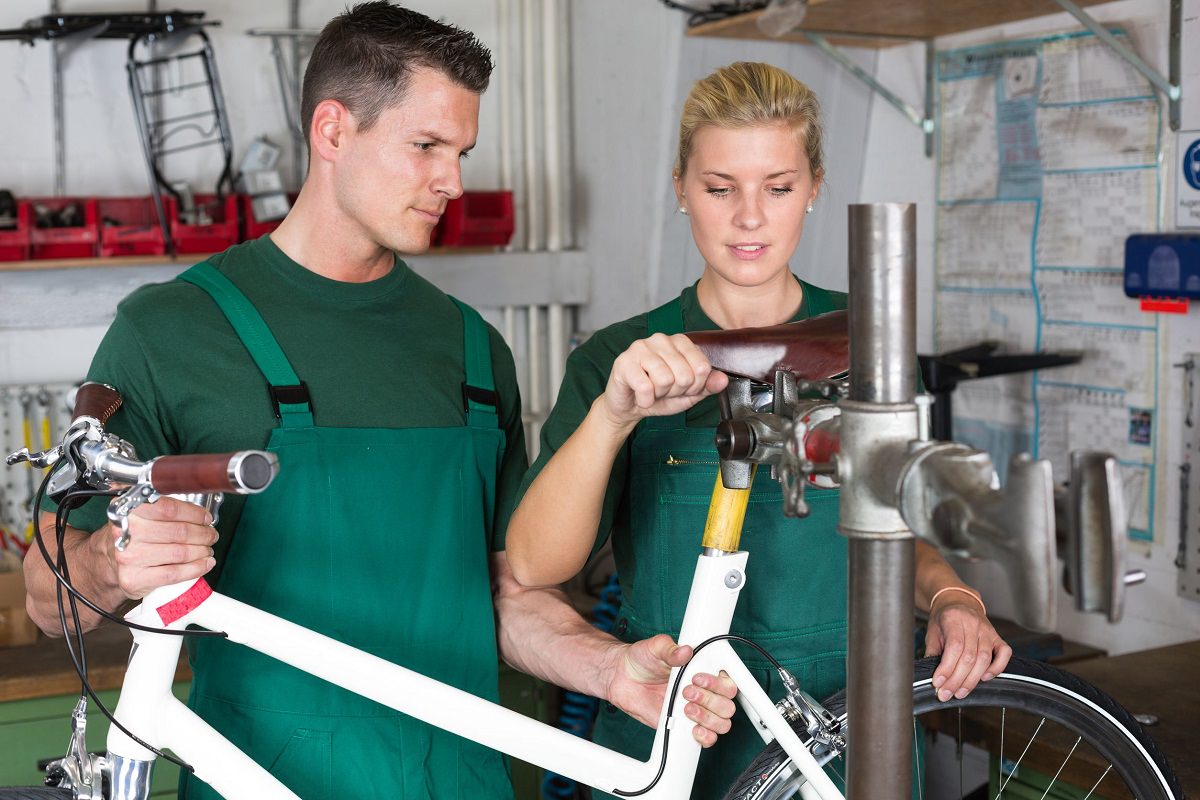
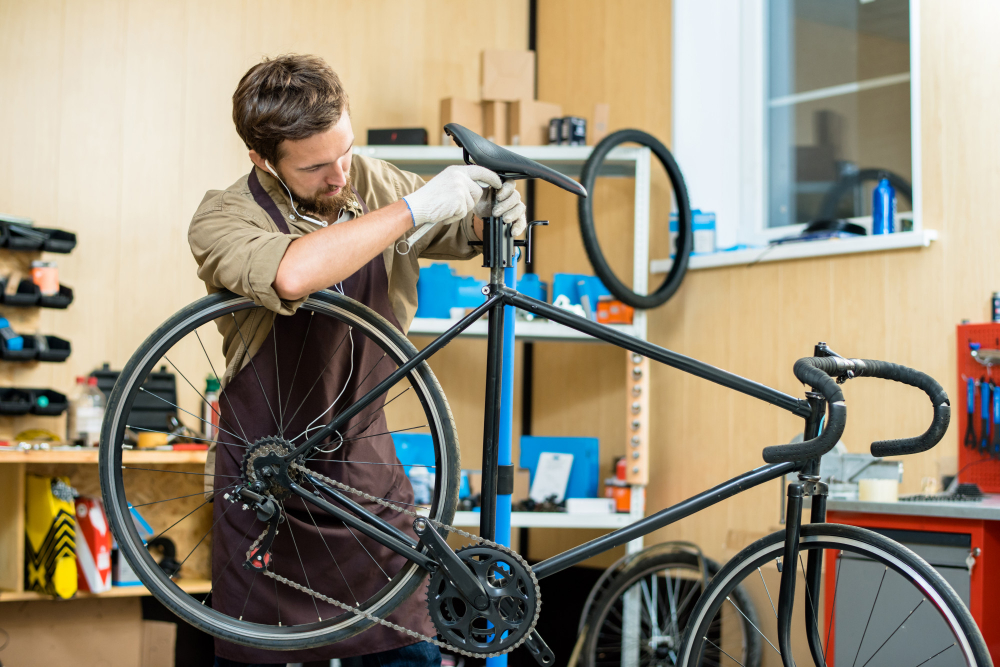
To start with a tune-up for your bike, you will need to have a proper workspace. The workspace should be clean, wide enough, and be able to take some spillage, these spillages are going to be normal when it comes to tune-ups so be ready.
If you would be using the garage or a driveway then make sure that it is fully cleaned. We have some ideas to share with you: A bike stand is a perfect choice when it comes to repairs and tune-ups, consider getting one, it would save you a lot of trouble.
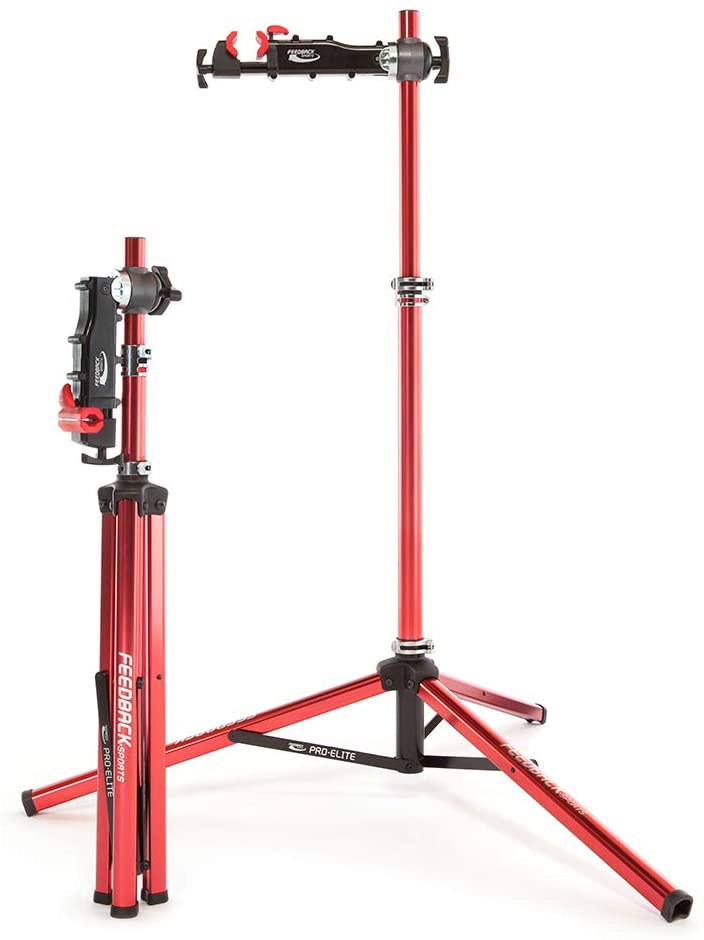
Here are some of the best bike repair stands that you can get right away:
- Feedback Sports Pro-Elite Repair Stand (Buy It Here)
- Park Tool Deluxe Home Mechanic Repair Stand (Buy It Here)
- Efficient Velo Tools EZ-Lift Repair Stand (Buy It Here)
- Unior Bike Gator Portable Repair Stand (Buy It Here)
- Bikehand Bike Repair Stand (Buy It Here)
Tip 2. Clean Everything Thoroughly!
A tune-up means a thorough cleanse and you need to make sure that everything is clean. Start by making sure that you have a neat workspace where you can tend to your bike in peace without any kind of disturbances. In a tune-up, you would have to clean every inch of the bike, some adjustments, and apply lube, but all of it has to be done very carefully.
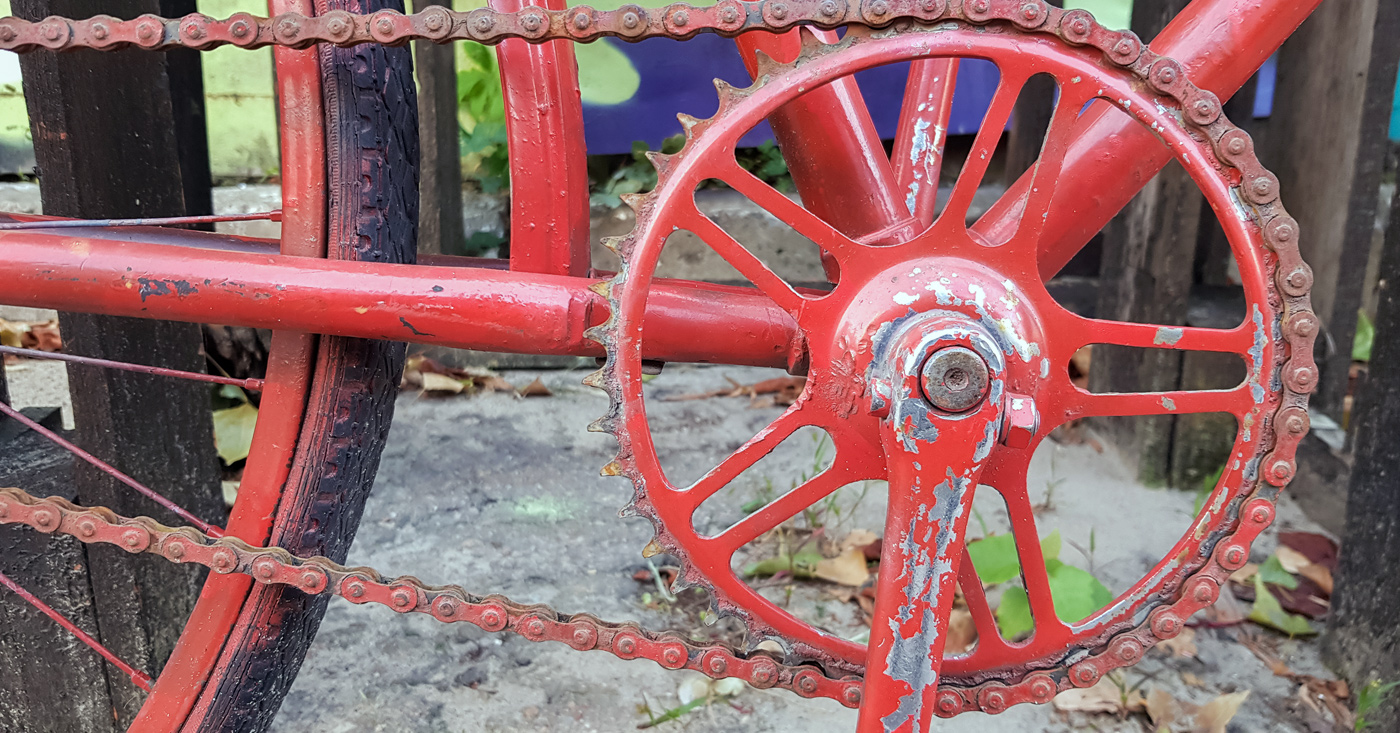
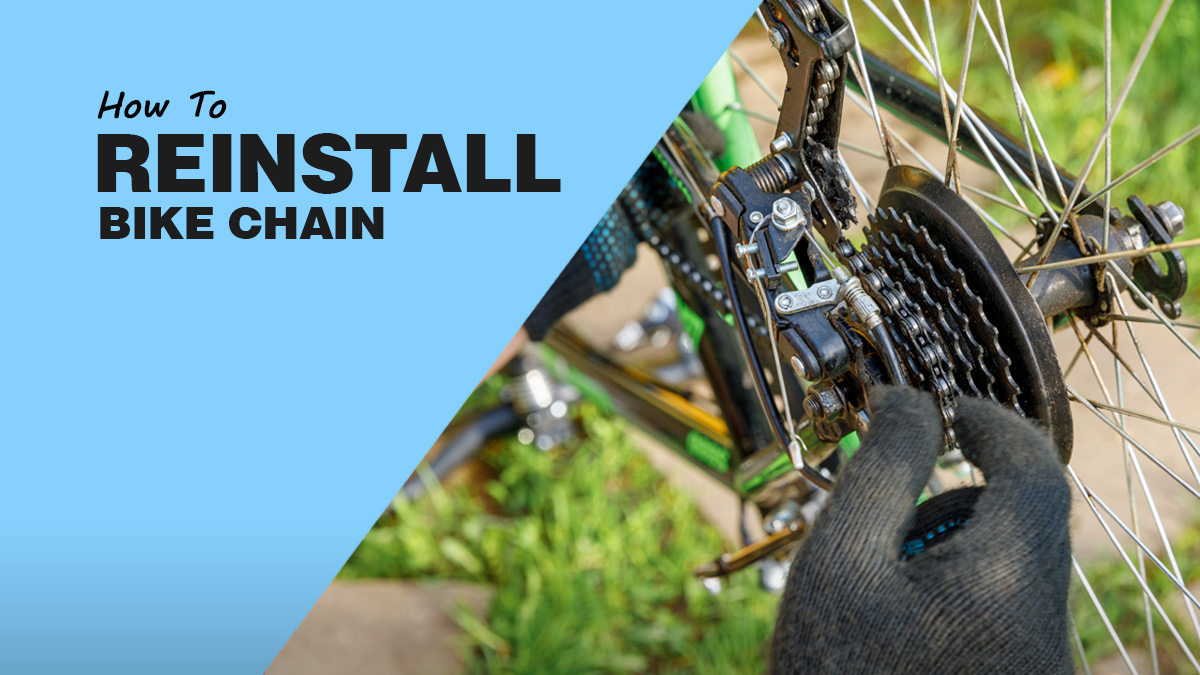
A good start is with the chain and drivetrain of the bike, these are known as the “Soul Of The Bike”, you need to make sure that it is clean and does not have any trace of dirt around it. You need to wipe all the dust and dirt from the chain and drivetrain, and if your chain is greasy or extra-dirty then you would have to use extreme measures here.
To clean the chain properly, you will need cleaning sprays and degreasers, we recommend using the WD40-it is extremely effective. In combination with the sprays, you can use a brush that you will need to rinse and also a magnet, this will pull any unwanted metal substances polluting your chain or drivetrain.
Before you lubricate the bike chain again, make sure that it is fully clean and dried, only after that apply the lubricant.
When the chain and drivetrain have been taken care of, you need to go after the body of the bike. If you use your bikes to the limit then they are going to be extra dirty and muddy, and for that, you have to clean the bike thoroughly. Ensure you don’t use that much water on the bottom bracket portion and headset, they are exceptionally weak against rust. You can combine a cleaning agent with water to make sure that the bike is fully clean, a good example here would be dish soap, they work amazingly well with bikes!
When you are done with the cleaning, it is time to dry it, make sure that you remove all the excess water or cleaning agent before drying.
Tip 3. Lube Is A Must!
Do you know why most bikes have problems? It is a common lack of lubrication, all the owners forget to lubricate their bikes, and even if they do it isn’t frequent. You need to lubricate your bike monthly if you want the best performance, a bike that is not lubricated properly has a decreased lifespan and does not run smoothly!
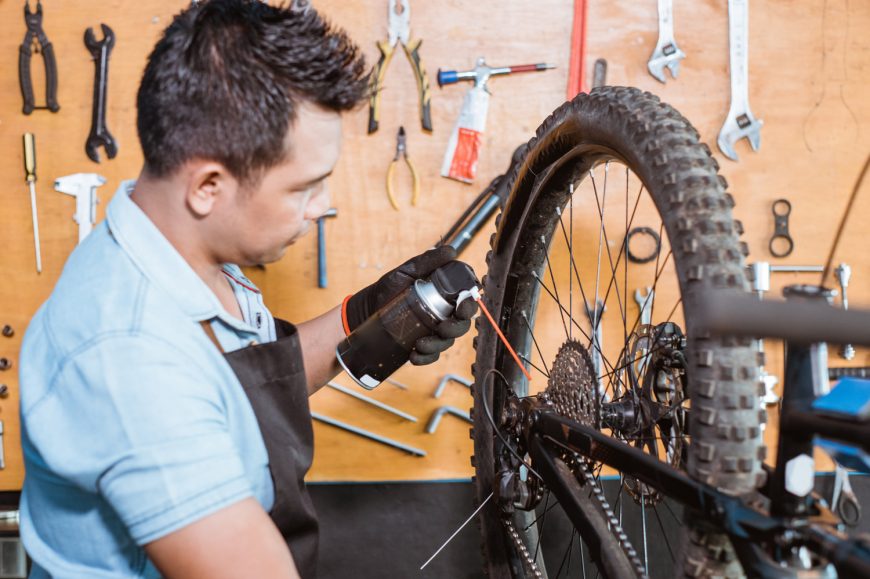
What many people also do is that they apply too much lube on their bikes, this becomes the same problem as not lubricating it entirely, the bike becomes a pumped-up magnet for all the contaminants. You need to make sure that your bike is perfectly lubricated, it should not even be visible but there should be an oily residue when you touch the bike.
A Teflon-based lube would be perfect here, they are best recommended for normal use and even if you use them too much on the bike they do not attract problems. For mountain bikes, the scenario is different, you have to go through different areas and even rainstorms so it is recommended that you use a wet lube.
Before you go out for a ride, make sure that your bike is properly lubricated, lube your chain and drivetrain, and then shift the gears to check. Make sure that there is no excess lube on the bike, you can use a dry rag to clean the lube if it is too much, we would also suggest that you spray (lube) and maintain the brake cables before moving out too!
Tip 4. Maintain The Tire Pressure
Checking your tire pressure before going out is necessary. You can check the recommended PSI on the side of the tire, they are printed there by the manufacturer. The recommended PSI for different types of bikes is:
- Road Bikes: 100-120 PSI
- Mountain Bikes: 40-80 PSI
On the front wheels, you can adjust having lesser PSI by ten because the main weight is at the rear of the bike.
Tip 5. Adjust The Brakes Properly
Make sure that your bike’s brakes are working properly before going out, in some cases those brakes change the course between life and death. Brake pads are very necessary, make sure that they are not worn out, or there are some damaged parts, if you see anything like that then it is high time to get new brake pads.
Align the brakes properly next, make sure that they don’t have a grinding noise, if they do then you need to tune them. Sand down the brakes so that they hit the rim correctly, that will eliminate any kind of grinding noise. Check the rims too, if there are any problems there, fix them.
Brake cables are also very important, if you see that the wear and tear are too much then you need to replace them, either fix them or replace them. If you go with the option to fix them then make sure that you have a buddy with you. They can hold the caliper with you while you tighten and adjust the brakes!
Tips 5. Fix Flats If There Are Any!
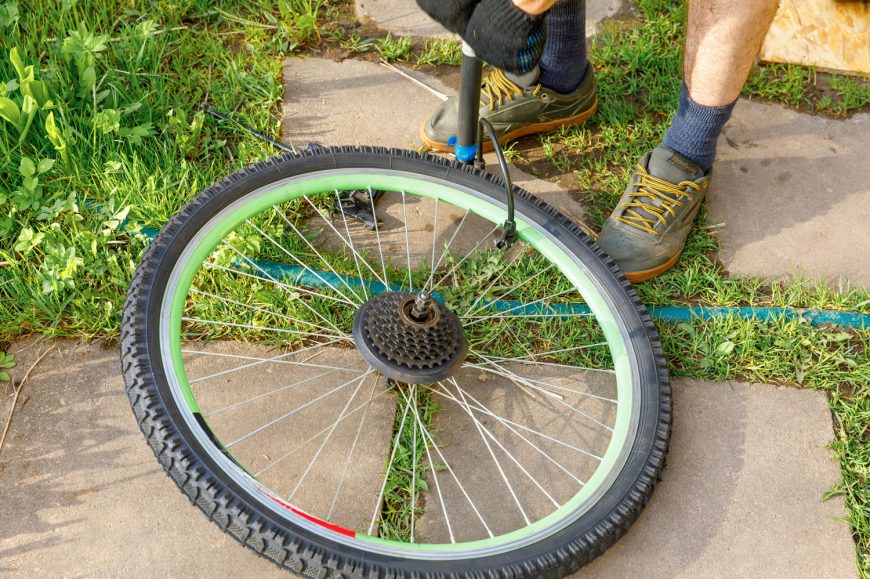
Checking for flat tires before you go out is also very necessary, you don’t want to have a flat tire when you are out on the road, which would cause a lot of unnecessary problems. When you find a flat tire, it is very easy to fix it, you just need to be careful. Different types of tires require different methods for repairing:
- Tubeless Tires: Use Plugkit for a temporary fix
- Tube Tires: You would have to remove the entire tire to fix it
For tubeless tires, you need to find the hole first and remove the object that punctured the tire. When that has been done, you need to insert the rubber hole to fix it. Reinflate the tire after that according to the recommended PSI mentioned on the tire.
Read also: 10 Best Bike Tubes Review.
For tires with tubes, you would have to remove the entire tire to fix it, that is complex but you will have to do it. You will need to take the wheel off the mount and then repair it. Check the tire for the item that punctured it, and remove it carefully, making sure that there is no residue. You can patch the tire with the help of a kit or replace the tube completely. When that is done, put the tire back where it was and reattach it to your bike. Test the tire thoroughly!
Read More Bike Maintenance Tips:
- How to Remove Rust From Bike
- How To Clean Bike Chain
- How To Tighten Bike Brakes
- How To Use And Shift Bike Gears
- How To Tighten A Bike Chain
Recap
The whole tune-up process is easy and there are no complications involved, you just need to clean the bike entirely and make some adjustments, and after that, you are done.
These tune-ups will make sure that your bike has a lot of years in it, take care of it fully and you won’t have to find a replacement anytime soon.
Should you have any questions or require further clarification on the topic, please feel free to connect with our expert author Luke Ameen by leaving a comment below. We value your engagement and are here to assist you.

